Chicken thighs are the unsung hero of the meat aisle. They are cheaper than breasts, more flavorful, and much harder to overcook. But they have one major downfall: Flabby Skin.
There is nothing sadder than biting into a piece of chicken and getting a mouthful of rubbery, fatty skin.
Welcome back to The Crispy Basket. Today, we are turning that skin into the best part of the meal.
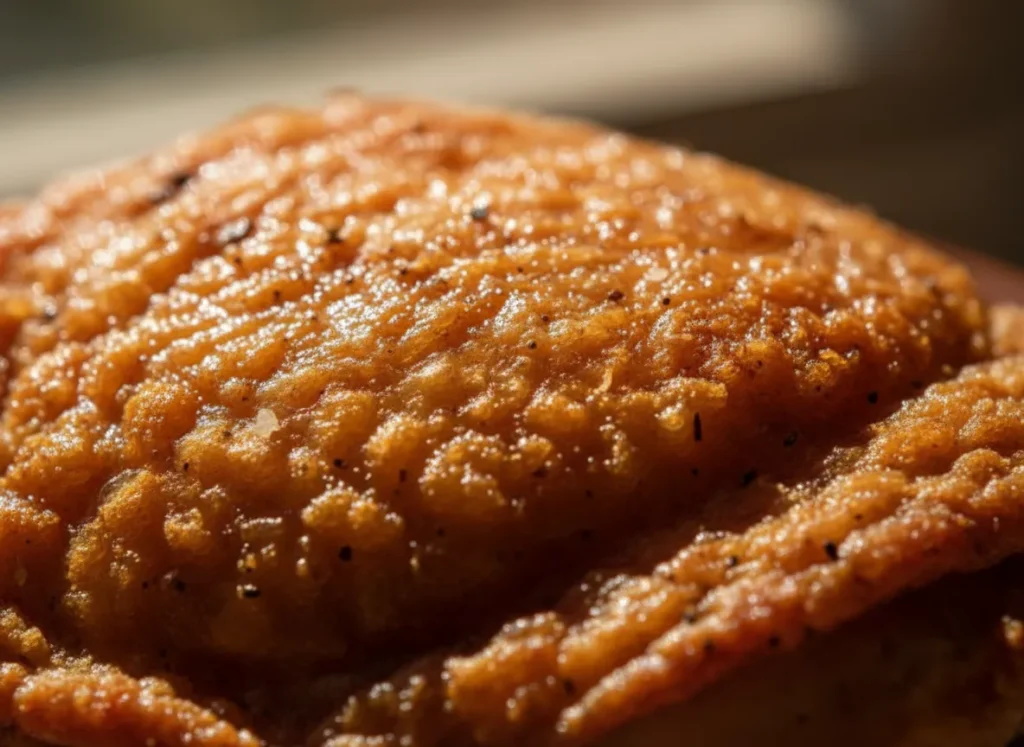
We are using the air fryer to render out the fat rapidly, creating a skin texture that is glass-like and crunchy (“shatteringly crisp”) without using any flour or breading. This is pure chicken-skin magic.
Why You’ll Love This Recipe
- The “Chicken Chip” Skin: The skin gets so crispy you can tap it with a fork and hear it.
- Juiciest Meat: Because we cook it bone-in, the meat is protected and stays impossibly moist.
- Set It and Forget It: Once you flip it, you just let the air fryer do the work.
“The Crispy Basket” Secret: Start Skin-Down
Most people put chicken in skin-side up and leave it.
The Secret: We start cooking skin-side DOWN. Why? This puts the skin directly in contact with the hot metal basket (or grate). This contact sear helps render the sub-cutaneous fat immediately. Halfway through, we flip it skin-side UP to let the hot air blast it and finish the crisping process.
Ingredients Needed
- 4 Bone-In, Skin-On Chicken Thighs: Don’t use boneless/skinless for this recipe. You need the fat and the bone for flavor and texture.
- 1 Tbsp Olive Oil: To help the spices stick.
- The Dry Rub:
- 1 tsp Salt.
- 1/2 tsp Black Pepper.
- 1 tsp Garlic Powder.
- 1 tsp Onion Powder.
- 1 tsp Paprika (Smoked is great here).
- 1 tsp Dried Oregano or Thyme.
Step-by-Step Instructions
Step 1: The Trim & Dry
Trim any excessive flaps of skin that are hanging off the edges (they just burn). Critical Step: Pat the chicken thighs completely dry with paper towels. Get under the flaps if you can. Moisture prevents crisping.
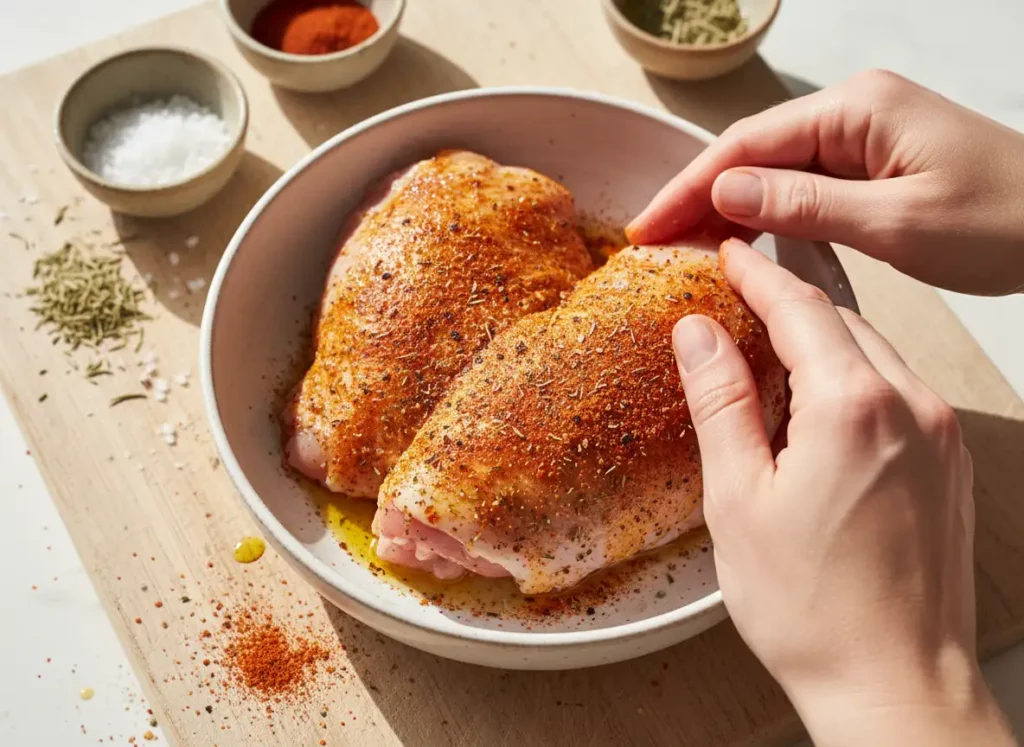
Step 2: Season
Place thighs in a bowl. Drizzle with the olive oil. Mix your spices together and rub them generously over the entire thigh. Make sure to get some seasoning under the skin too, directly on the meat.
Step 3: The First Cook (Skin-Down)
- Preheat your air fryer to 380°F (195°C) for 3 minutes.
- Place the thighs in the basket SKIN-SIDE DOWN.
- Air fry at 380°F for 12 minutes.
Step 4: The Flip & Finish (Skin-Up)
- Flip the thighs over so they are SKIN-SIDE UP.
- Air fry for another 10–12 minutes.
- Check Temp: The internal temperature should reach 165°F (74°C). However, thighs are actually better/more tender if cooked to 175°F (unlike breasts, which dry out).
- If the skin isn’t crispy enough yet, add 2 more minutes. It should be deep golden brown and feel hard when tapped.
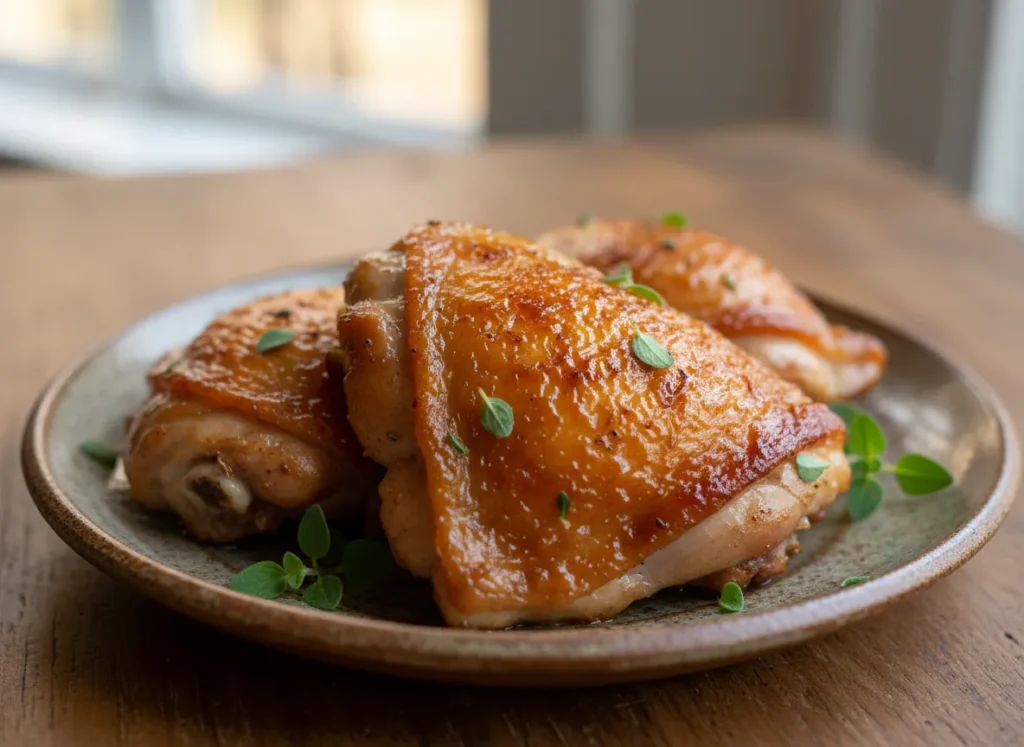
Step 5: Rest
Let them rest on a plate for 5 minutes. The juices need time to settle. Serve with roasted veggies or a salad.
“The Crispy Basket” Pro-Tips
- Don’t Crowd the Skin: Make sure there is a little air gap between each thigh. If the skins are touching, the spots where they overlap will be soggy.
- Poke the Skin: If you have very fatty thighs, take a sharp knife and poke a few tiny holes in the skin (don’t go deep into the meat) before cooking. This gives the fat a vent to escape through, making the skin even crispier.
- Save the Drippings: There will be delicious rendered chicken fat (schmaltz) in the bottom of your basket. Don’t waste it! Toss some broccoli or potatoes in it and air fry them as a side dish.
FAQ
Why is my air fryer smoking? Chicken thighs release a lot of fat. If it hits the heating element or burns in the bottom, it smokes. Add a little water or a slice of bread to the bottom drawer (under the basket) to catch the grease.
Can I use boneless thighs? Yes, but they cook much faster (about 12–15 minutes total) and you won’t get the same crispy skin effect.
Enjoy the crunchiest chicken dinner ever!