Grocery store rotisserie chickens are convenient, but let’s be honest: they are often weirdly salty, sometimes dry, and the skin is usually flabby by the time you get it home. Plus, the price keeps going up.
Welcome back to The Crispy Basket. Today, we are taking back the roast chicken.
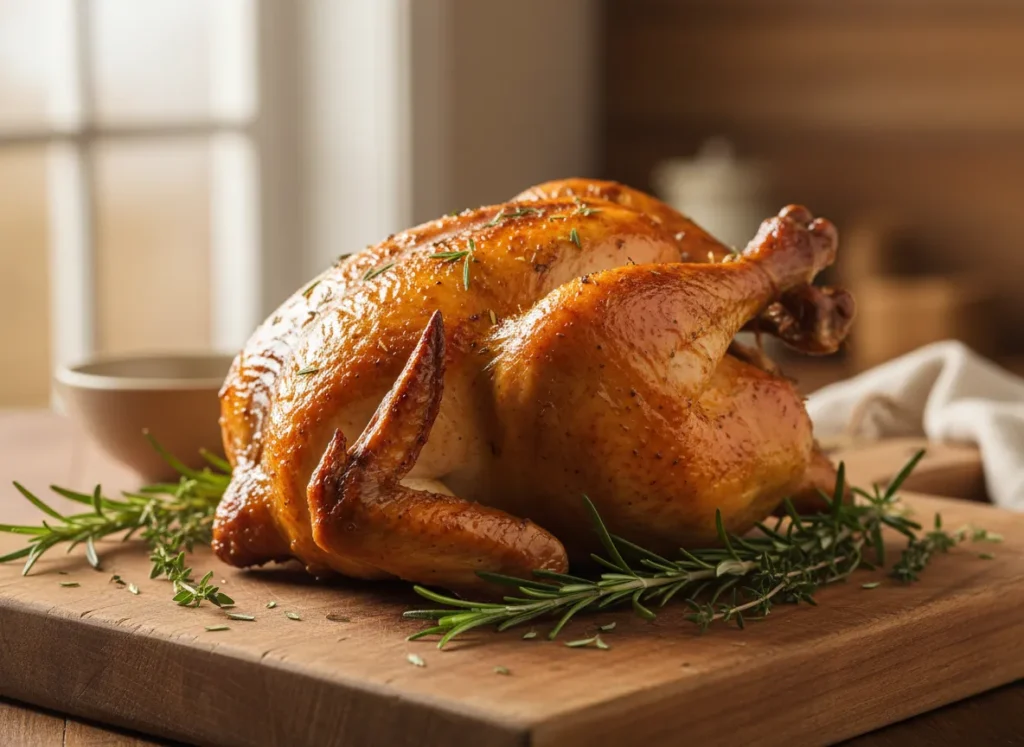
Roasting a whole bird in the air fryer is faster than a conventional oven and yields results that are shockingly good. The high-speed hot air renders the fat quickly, basting the meat and creating a skin that shatters like glass. It is the ultimate budget meal—a $7 chicken feeds a family of four with leftovers for lunch.
Why You’ll Love This Recipe
- The Economics: Buying a whole raw chicken is significantly cheaper than buying breasts or thighs separately.
- The Skin: It is, quite simply, the crispiest chicken skin you will ever achieve outside of deep frying.
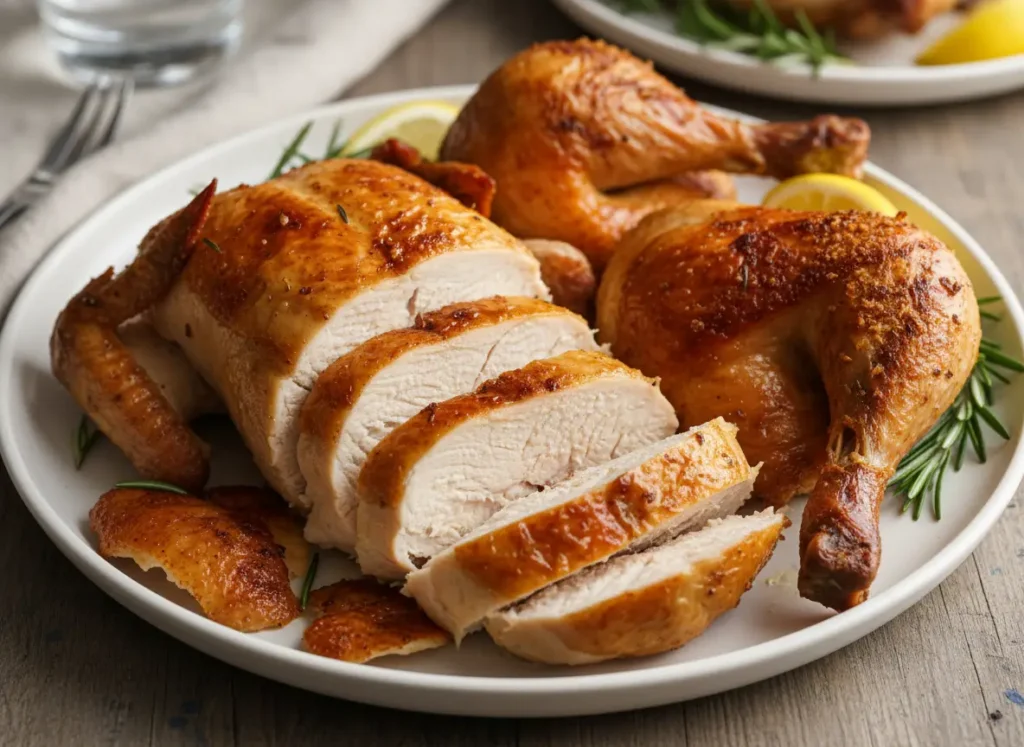
- Juicy Meat: Our cooking method protects the delicate breast meat so it doesn’t dry out.
“The Crispy Basket” Secret: The “Flip” & The “Dry Brine”
Cooking a whole chicken is tricky because the breast cooks faster than the dark meat legs.
Secret 1: The “Flip” Method. We start cooking the chicken breast-side down. This protects the breast meat from the direct heat element while the thighs get a head start. Halfway through, we flip it breast-side up to crisp the skin.
Secret 2: The “Dry Brine” (Optional but Recommended). If you have time, salt the raw chicken generously and let it sit uncovered in the fridge for 4–8 hours before cooking. The salt draws out moisture from the skin (making it crispier later) and seasons the meat all the way to the bone.
Ingredients Needed
- 1 Whole Chicken (4–5 lbs): Crucial: Make sure it fits in your basket! A 5qt fryer can usually handle a 4lb bird. A 4lb bird is safer for smaller fryers.
- 2 Tbsp Olive Oil: To help the spices stick.
- The Rub:
- 1 Tbsp Salt (Use less if you dry brined it).
- 1 tsp Black Pepper.
- 2 tsp Garlic Powder.
- 2 tsp Smoked Paprika (for color).
- 1 tsp Dried Thyme or Oregano.

Step-by-Step Instructions
Step 1: The Prep (Crucial!) Remove the giblets from the cavity. Pat the chicken completely dry inside and out with paper towels. This is the most important step for crispy skin. Rub the chicken all over with the oil. Mix the spices together and rub them generously over the entire bird, getting into all the creases and inside the cavity.
Step 2: The First Cook (Breast-Side Down)
- Preheat your air fryer to 360°F (180°C) for 5 minutes.
- Place the seasoned chicken in the basket, breast-side down (legs facing up).
- Air fry at 360°F for 30 minutes.
Step 3: The Flip & Finish (Breast-Side Up)
- Carefully flip the chicken over using sturdy tongs or two large forks. It should now be breast-side up.
- Increase the temperature to 400°F (200°C).
- Air fry for another 15–20 minutes.
- Check Temp: The chicken is done when a meat thermometer inserted into the thickest part of the thigh reads 165°F (74°C). The skin should be deep golden brown.
Step 4: The Rest Remove the chicken carefully to a cutting board. Let it rest for at least 15 minutes before carving. If you cut it too soon, all the juices will run out.
“The Crispy Basket” Pro-Tips
- Tie the Legs: Use kitchen twine to tie the legs together. This helps it fit in the basket better and cook more evenly.
- Smoke Control: Whole chickens release a lot of fat. If your unit starts smoking, pour a tiny bit of water into the bottom drawer (under the basket) to catch the grease.
- Save the Bones: Don’t throw the carcass away! Throw it in a pot with water and veggies to make free homemade chicken broth.
FAQ
What if my chicken is too big? If the chicken touches the heating element at the top, it will burn. Press down firmly on the breastbone to “flatten” it slightly before cooking, or buy a smaller bird (3.5 – 4 lbs).
Do I need to spray it with oil? Since we rubbed it with oil at the start, you shouldn’t need to spray it again, but if you see dry floury spots after flipping, give it a quick spray.