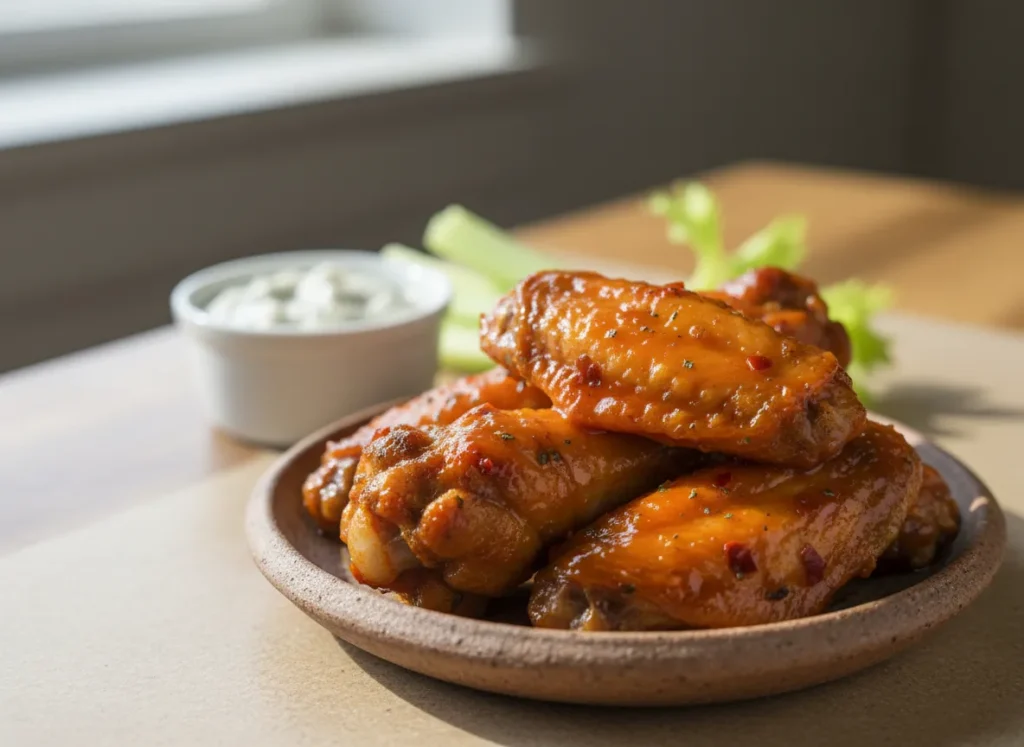
The holy grail of home cooking is a chicken wing that crunches when you bite it, but pulls away tenderly from the bone.
Usually, you have to deep fry them to get that result. Oven-baked wings are often disappointing—chewy, tough, or just sort of… wet.
Welcome back to The Crispy Basket. Today, we are mastering the Wing.
We are using a little bit of food science to cheat the system. By changing the pH level of the chicken skin and using a two-stage cooking process, we can trick the skin into blistering and bubbling just like it hit hot oil.
Why You’ll Love This Recipe
- The “Blister”: The skin doesn’t just get hard; it gets airy and bubbly.
- No Grease: The fat renders out of the wings and drips away, leaving you with a lighter snack.
- Sauce Versatility: Because the skin is so crispy, it stays crunchy even after you toss it in wet sauce.
“The Crispy Basket” Secret: Baking Powder & Two Temps
Secret 1: Baking Powder. NOT baking soda. Baking powder draws moisture to the surface of the skin where it evaporates, and it raises the pH level, allowing the peptide bonds in the skin to break down and crisp up faster.
Secret 2: Low then High.
- Stage 1 (Low Temp): We cook at a lower heat to melt the fat under the skin so it drips away.
- Stage 2 (High Temp): We crank the heat to fry the skin in its own remaining fat.
Ingredients Needed
- 2 lbs Chicken Wings: (Party wings, split into drums and flats).
- 1 Tbsp Baking Powder: Ensure it is aluminum-free if possible to avoid a metallic taste. DO NOT USE BAKING SODA (it tastes like soap).
- 1/2 tsp Salt.
- 1/2 tsp Garlic Powder.
- 1/2 tsp Black Pepper.
- Your Favorite Sauce: Buffalo (Frank’s + Butter), BBQ, or Lemon Pepper.
Step-by-Step Instructions
Step 1: The Extreme Dry
Remove wings from the package. Crucial: Pat them extremely dry with paper towels. Squeeze them. Moisture is the enemy of the baking powder hack.
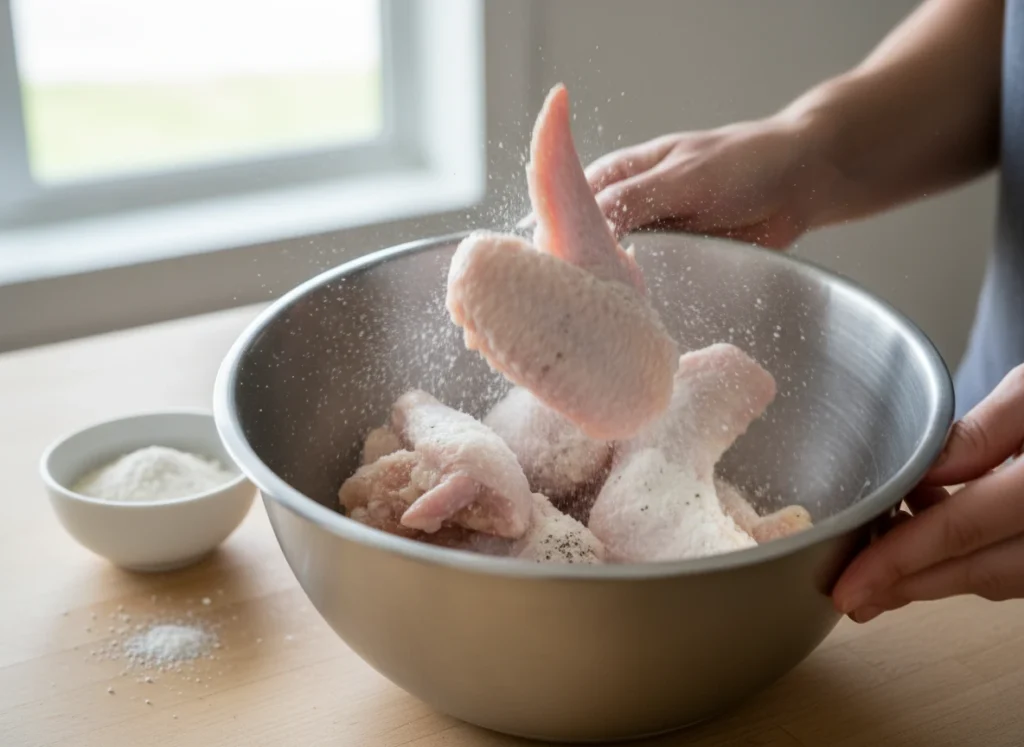
Step 2: The Coat
In a small bowl, mix the baking powder, salt, garlic powder, and pepper. Place wings in a large bowl or Ziploc bag. Sprinkle the powder mixture over them. Toss well until every wing is lightly coated in a fine white dust.
Step 3: The Render (Low Temp)
- Place wings in the air fryer basket in a single layer. Stand them up on their sides (leaning against the walls) if you need to fit more in.
- Air fry at 250°F (120°C) for 20 minutes.
- Note: They will look pale and sad after this step. Trust the process. We are just melting the fat right now.
Step 4: The Crisp (High Temp)
- Increase the heat to 400°F (200°C).
- Air fry for another 15–20 minutes.
- Shake: Shake the basket every 5 minutes during this high-heat stage.
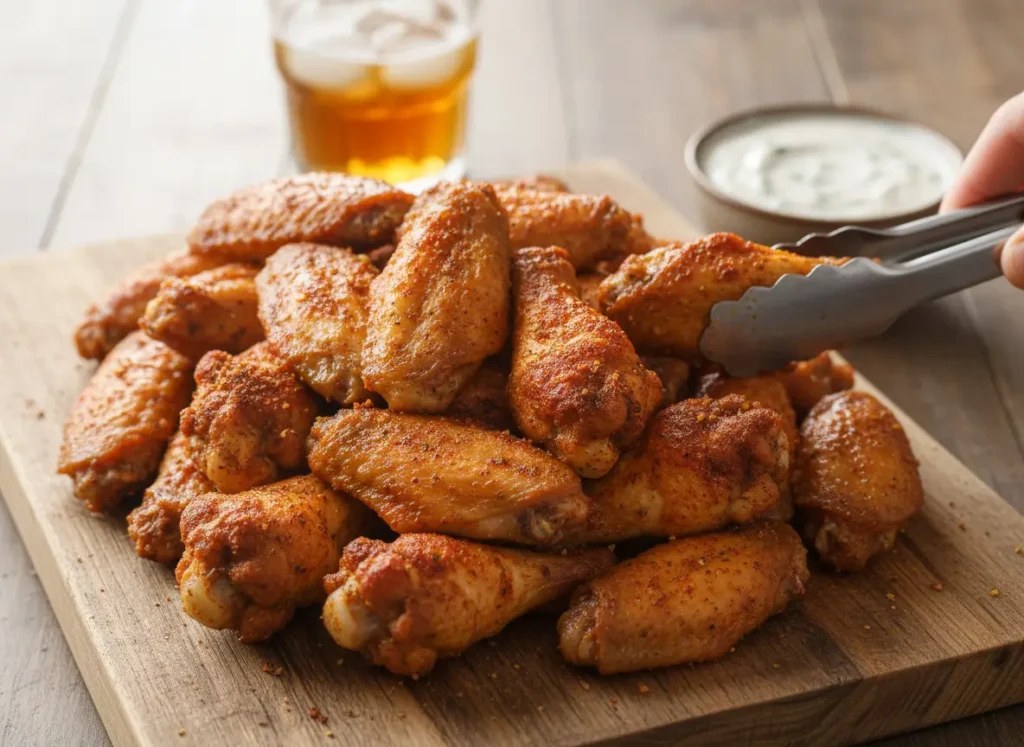
- They are done when the skin is blistered, dark golden brown, and sounds hard when you tap it with tongs.
Step 5: The Toss
Transfer the hot wings to a clean bowl. Pour your sauce immediately over the wings. Toss to coat and serve instantly with ranch or blue cheese.
“The Crispy Basket” Pro-Tips
- Don’t Crowd: If you stack them, the steam will prevent crisping. Cook in batches if you have a small basket.
- The Soap Test: If your wings taste metallic or soapy, you either used Baking Soda by mistake, or you used too much powder. 1 Tablespoon per 2lbs of meat is the ratio.
- Sauce Warm: Warm your sauce up in the microwave before tossing. Cold sauce on hot wings cools them down too fast and kills the crunch.
FAQ
Can I skip the low temp step? You can, and cook straight at 400°F for 20 minutes. They will be good, but they won’t be as crispy. The fat needs time to render out first.
Are these Keto? Yes! As long as you use a sugar-free sauce (like classic Buffalo), these are virtually zero carb.
Enjoy the best game day food on the planet!